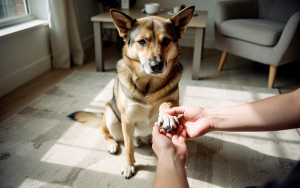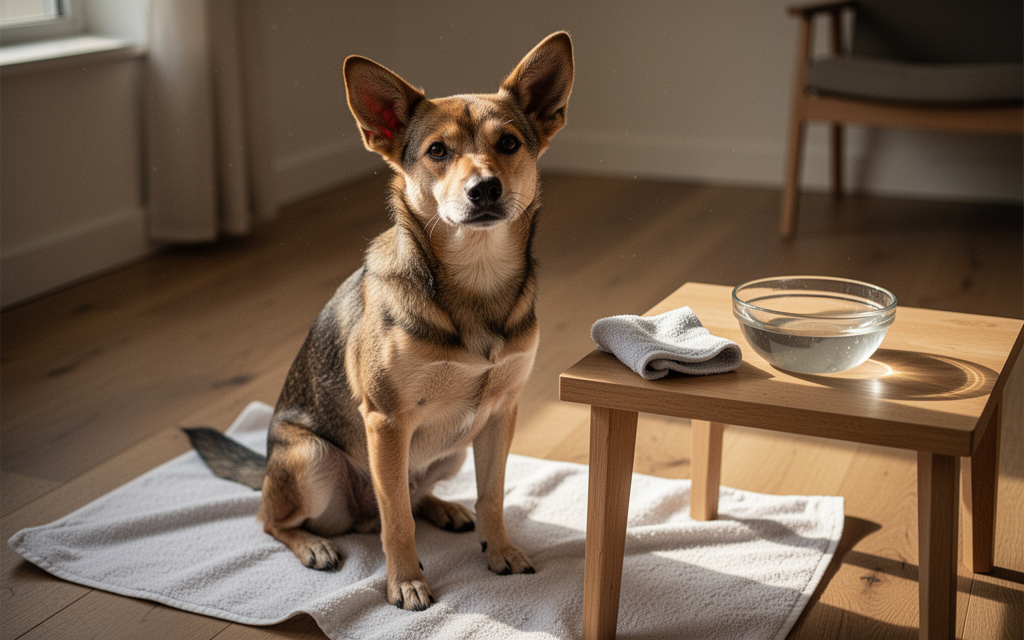
Cleaning a dog’s ears at home involves checking and gently wiping only the outer ear with a dog-safe cleaner, as recommended by Dogs Trust. Avoid using cotton buds or home remedies, as these can cause injury or irritation. If you notice signs such as redness, discharge, or excessive scratching, stop and consult a vet, as these may indicate an underlying issue requiring professional care. Understanding the anatomy of a dog’s ear helps ensure that cleaning is done safely and effectively, focusing on the visible parts without attempting to reach deeper into the ear canal. Always follow vet-approved steps and use appropriate tools like cotton balls or gauze to minimize risk.
Understanding the Outer Ear and Why It Matters
A dog’s outer ear consists of the visible part of the ear flap (pinna) and the outer portion of the ear canal. This area is designed to collect sound and protect the delicate structures inside, but it is also where debris, wax, and moisture can accumulate. Cleaning should focus exclusively on this visible outer region, as the deeper ear canal is lined with sensitive tissue and a thin layer of wax that naturally prevents infections. According to Canine Bible, using a vet-approved ear cleaner with cotton balls or gauze to gently wipe the outer ear flap removes dirt and excess wax without disrupting the ear’s natural defenses.
The outer ear is accessible for inspection and cleaning, but pushing objects like cotton buds into the canal risks damaging the eardrum or forcing debris deeper, which can worsen infections or cause pain. Dogs with floppy ears, allergies, or a history of infections may require more frequent checks, but even in these cases, cleaning should remain limited to the outer area. As WikiHow notes, homemade solutions like vinegar and alcohol mixtures should never be poured into the ear canal, as they can irritate broken skin or worsen existing conditions. By focusing on the outer ear, owners can maintain hygiene without overstepping into areas that require professional care.
When to Clean and How Often
The frequency of ear cleaning depends on your dog’s breed, lifestyle, and health. Dogs with floppy ears, allergies, or a history of ear infections may require more frequent checks, while others may only need occasional wiping. According to Canine Bible, not every dog needs frequent ear cleaning, and doing it too often can sometimes cause more harm than good. Some dogs with healthy ears may only need an occasional wipe when you notice wax, dirt, or moisture, while others may need more regular checks because of floppy ears, allergies, frequent swimming, or a history of buildup.
Breed-specific factors also play a role. Research from Cornell and VCA guidance, as noted on Canine Bible, shows that poodle-type breeds, spaniel-type breeds, designer poodle mixes, and dogs with pendulous or V-shaped drop ears have a higher risk of ear infections. In contrast, some erect-eared breeds show a lower relative risk. Your veterinarian can recommend how often your dog’s ears should be cleaned based on their breed, lifestyle, and health, as stated on PetMD.
Ultimately, each dog is unique, and their ear care needs should be tailored accordingly. As Dogs Trust explains, some dogs need regular ear-cleaning, while others require very little. Speak to your vet for advice on an ear-cleaning plan that suits your dog’s specific needs. This ensures that any routine is appropriate for their individual situation and avoids unnecessary interference that could lead to irritation or infection.
Safe Cleaning Techniques and Tools
When cleaning your dog’s ears, use a vet-approved ear cleaner and soft materials such as cotton balls or gauze. Focus only on the outer ear, avoiding the ear canal entirely. This prevents irritation and ensures the process remains gentle and effective. According to Canine Bible, the goal is to remove debris and excess wax safely without irritating the ear or forcing material deeper. It is important to avoid using cotton swabs, as they can push debris further into the ear canal and cause injury.
- Begin by applying a few drops of a vet-approved ear cleaner to the outer part of the ear flap. This helps loosen any debris or wax.
- Use a clean cotton ball or gauze to gently wipe the outer ear. Do not insert the cotton ball or swab into the ear canal.
- Allow your dog to shake its head after cleaning, as this helps remove excess fluid and debris from the ear. Turn your face away to avoid getting fluid in your eyes.
- After shaking, wipe the outer ear again with a fresh cotton ball or gauze to remove any material brought out during the head shaking.
- Repeat this process as needed, but avoid over-cleaning. According to Dogs Trust, unnecessary ear cleaning may create problems, so it is best to clean only when necessary.
Always consult your vet before cleaning your dog’s ears, especially if you suspect an ear infection or if your dog shows signs of discomfort. Using the correct tools and techniques ensures a safe and effective cleaning process that supports your dog’s overall health and wellbeing.
Warning Signs That Mean Stop and See a Vet
If you notice any of the following during or after cleaning, stop immediately and consult a veterinarian. These symptoms suggest underlying issues that require professional diagnosis and treatment rather than at-home care. Redness, swelling, or warmth in the ear canal may indicate infection or inflammation. A persistent foul odor, especially if accompanied by dark, pus-like, or brownish discharge, is a strong sign of bacterial or yeast overgrowth. Pain or sensitivity when touching the ears—such as head shaking, scratching, or reluctance to have the area handled—should also prompt a vet visit. According to Canine Bible, symptoms like clear pain, dark discharge linked to ear mites, or balance problems (e.g., head tilt) are red flags that may signal infections, inflammation, or other conditions needing veterinary intervention. Similarly, PetMD advises stopping cleaning if you observe redness or odor, as these can be early signs of infection. Avoid attempting to remove foreign objects (e.g., plant awns) or treating mites at home, as these situations require specialized care. Always seek professional guidance if symptoms persist or worsen after initial cleaning.
Why Cotton Buds and Home Remedies Are Risky
Using cotton buds to clean a dog’s ears can cause serious harm. The ear canal of a dog is shaped in a way that makes it difficult to see or reach the deeper parts, and inserting a cotton bud can push debris further inside, potentially damaging the eardrum or causing an infection. According to wikiHow, it is explicitly advised not to use cotton swabs in the canal itself, as this can compact material in the sharp turn of the ear canal or even rupture the eardrum. This risk is heightened when the ear is already inflamed or infected, as the skin is more sensitive and easily broken.
Home remedies, while sometimes well-intentioned, can also be problematic. Mixtures such as vinegar and rubbing alcohol may be safe for the visible inner part of the ear flap, but they are not recommended for use in the ear canal, especially if an infection is suspected. These solutions can cause irritation or stinging if the skin is already compromised. Dogs Trust emphasizes that unnecessary ear cleaning can create problems, and it is important to follow expert advice on when and how to clean. Using unapproved home remedies without understanding the risks can lead to more harm than good, particularly if the dog has an underlying condition that requires professional attention.
For these reasons, it is strongly advised to avoid cotton buds and unverified home remedies. Instead, use a dog-safe ear cleaner and follow vet-approved techniques for gentle cleaning of the outer ear only. If there is any doubt about the dog’s ear health, consult a veterinarian for guidance.
Disclosure: As an Amazon Associate I earn from qualifying purchases. Links in the related-products section are paid links.