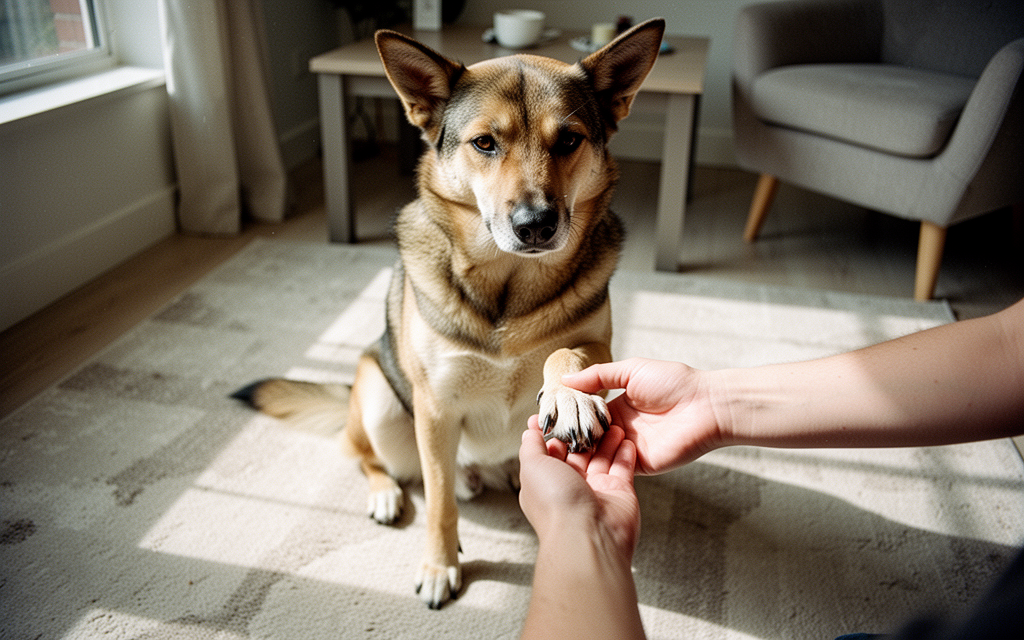
To trim a dog’s nails safely at home, start by ensuring your dog is calm and comfortable with handling. Gradually introduce touch to the paws, using treats to create positive associations. Use proper nail clippers designed for dogs and take care to avoid the quick, which can cause bleeding if cut. If bleeding occurs, apply gentle pressure with a clean cloth and seek professional help if needed. Know when to consult a groomer or vet, especially if your dog shows resistance or if you are unsure about the process. Each dog’s anatomy and tolerance vary, so observe your pet closely and proceed with patience and care.
Understanding the Anatomy and Purpose of Dog Nails
Dog nails differ significantly from human fingernails in structure and function. A dog’s claw is a three-dimensional, keratinized shell that encases a living vascular core. This core, known as the “quick,” contains sensitive nerve endings and a robust blood supply that nourishes the nail’s outer layer. Unlike human nails, which grow flat on top of the skin, a dog’s nail grows around this inner tissue, making it crucial to avoid cutting into the quick during trimming. The quick’s position varies depending on the dog’s nail color: in light-colored nails, it appears as a pinkish or dark center, while in black nails, it may be harder to see without careful inspection.
- Understanding the quick’s role is essential, as cutting it causes immediate pain and bleeding. The quick’s blood supply can lead to prolonged bleeding if not addressed promptly, complicating the trimming process.
- Regular trimming prevents the quick from extending further down the nail shaft, which occurs when nails grow too long. This extension makes safe trimming more difficult, as only a small portion of the nail can be cut before reaching the quick.
- The natural wear from rough surfaces like concrete helps maintain nail length in outdoor dogs, but indoor dogs often require manual trimming to avoid overgrowth. This overgrowth can alter gait, cause discomfort, or lead to nail splitting.
By recognizing the quick’s location and function, owners can approach trimming with greater caution, reducing the risk of injury and ensuring the process remains manageable for both dog and handler.
Creating a Calm and Comfortable Environment
Begin by selecting a quiet, familiar space where your dog feels secure, such as a living room or a dedicated area with minimal distractions. Avoid sudden noises or movements that could startle them. Use a soft, neutral tone of voice throughout the process to reinforce calmness. If your dog has a history of anxiety or negative associations with nail trimming, consider desensitizing them gradually by handling their paws for short periods during unrelated activities, such as feeding or playtime, to build positive associations.
- Prepare the space: Clear the area of sharp objects or hazards. If your dog has hairy paws, gently trim excess fur around the nails to improve visibility, as advised by Dogs Trust. This step helps you see the nail’s structure clearly and reduces the risk of accidental injury.
- Use positive reinforcement: Offer high-value treats or praise immediately after handling your dog’s paws, even for brief moments. According to Canine Bible, pairing paw handling with rewards can make the experience less stressful and more routine over time.
- Assess comfort: If your dog shows signs of discomfort, such as stiffening or vocalizing, pause and give them time to relax. For older dogs or those with arthritis, lying on their side during the process, as suggested by wikiHow, may reduce strain on their joints and make handling easier.
- Stay patient: Avoid rushing. Let your dog explore the nail clippers or trimmers at their own pace, allowing them to investigate the tools without pressure. This step, emphasized by Vets Care Blog, helps prevent fear-based reactions during the actual trim.
By prioritizing your dog’s emotional and physical well-being before beginning the trim, you create a foundation for a safer, more cooperative experience. If your dog remains visibly distressed despite these steps, consider consulting a professional groomer or veterinarian for guidance tailored to their specific needs.
Gradual Handling and Positive Association
Begin by creating a calm environment where your dog feels secure. Choose a quiet space free from distractions, and sit at your dog’s level to avoid appearing dominant. Start by gently touching areas of the body that are less sensitive, such as the shoulder or neck, while offering a high-value treat. This helps your dog associate your touch with something positive. Gradually move your hand down the leg, pausing to reward your dog at each step. If your dog shows signs of tension, stop and return to a previous step, reinforcing calmness with treats until they relax.
- Introduce the clippers gradually: Place the nail clippers on the floor and scatter treats around them. Let your dog investigate the tool at their own pace, rewarding them for sniffing or pawing at it. This builds a positive association with the object before any handling occurs.
- Desensitize the paw: Once your dog is comfortable with the clippers, gently touch the paw while offering a treat. Avoid applying pressure or attempting to hold the paw. If your dog moves away, reward them for allowing you to approach and retreat. Repeat until they tolerate brief contact without resistance.
- Trim incrementally: After your dog tolerates paw handling, trim only the very tip of one nail using clippers. Immediately reward them with a treat and praise. Avoid cutting too much at once, as this may cause discomfort. Over subsequent sessions, gradually increase the number of nails trimmed, always ending with a reward to reinforce positive feelings.
Consistency is key. If your dog becomes stressed, pause and return to earlier steps. Over time, this approach can make nail handling a routine part of their day, reducing fear and fostering cooperation. For additional guidance on introducing tools, Dogs Trust provides practical steps on using treats to familiarize dogs with clippers.
Trimming Techniques to Avoid the Quick
When trimming a dog’s nails, the goal is to avoid the quick, which is the sensitive inner part of the nail containing blood vessels and nerves. Cutting into the quick can cause pain, bleeding, and a negative association with nail trimming. The method you use depends on the visibility of the quick, which is easier to see on light-colored nails than on dark ones.
For light-colored nails, the quick appears as a pinkish or red stripe running through the center of the nail. Trim only the clear portion of the nail, stopping just before the pink stripe begins. This ensures that you avoid the quick and reduce the risk of injury. If you are unsure, make small, incremental cuts and check the nail after each pass.
For dark nails, the quick is not visible, so the process requires more caution. Trim small slivers at a time, and stop when you see a chalky white or gray center appear on the freshly cut surface. This indicates that you have reached the outer layer of the nail and are still safe. If you accidentally cut into the quick, the nail will bleed, and you should apply styptic powder or a clean cloth to stop the bleeding immediately.
Using the right tools, such as dog-specific nail clippers or a grinder, can also help reduce the risk of cutting too deeply. If your dog has medical conditions, arthritis, or brittle nails, consider consulting a professional groomer or veterinarian to ensure the process is safe and comfortable for your pet.
What to Do If the Nail Bleeds or Your Dog Resists
If bleeding occurs, act swiftly but calmly. Apply gentle pressure to the nail using a clean cloth or gauze for several minutes. If the bleeding does not subside, apply cornstarch or a commercial clotting powder directly to the nail, as advised by wikiHow. Avoid touching the area unnecessarily, as this may increase your dog’s anxiety. If the bleeding persists for more than 10 minutes, contact your veterinarian immediately. For dogs that resist handling, pause the process entirely and reassess their comfort level. If your dog shows signs of fear, pain, or aggression during trims, consider consulting a professional groomer or veterinarian, especially if they have medical conditions like arthritis, as noted by Canine Bible. Professional guidance can help avoid exacerbating discomfort or creating long-term associations with fear. Prioritize your dog’s well-being: if the process becomes consistently stressful for either of you, seek support from a trained handler to ensure safety and reduce anxiety for future sessions.
- Apply pressure to the nail with a clean cloth for several minutes if bleeding occurs.
- Use cornstarch or a clotting powder if bleeding persists, following the steps outlined by wikiHow.
- Seek veterinary care if bleeding does not stop within 10 minutes or if your dog shows signs of distress.
- Pause nail trimming if your dog resists or exhibits fear, and consider professional assistance for complex cases or medical concerns.
Disclosure: As an Amazon Associate I earn from qualifying purchases. Links in the related-products section are paid links.